
Chocolate mousse
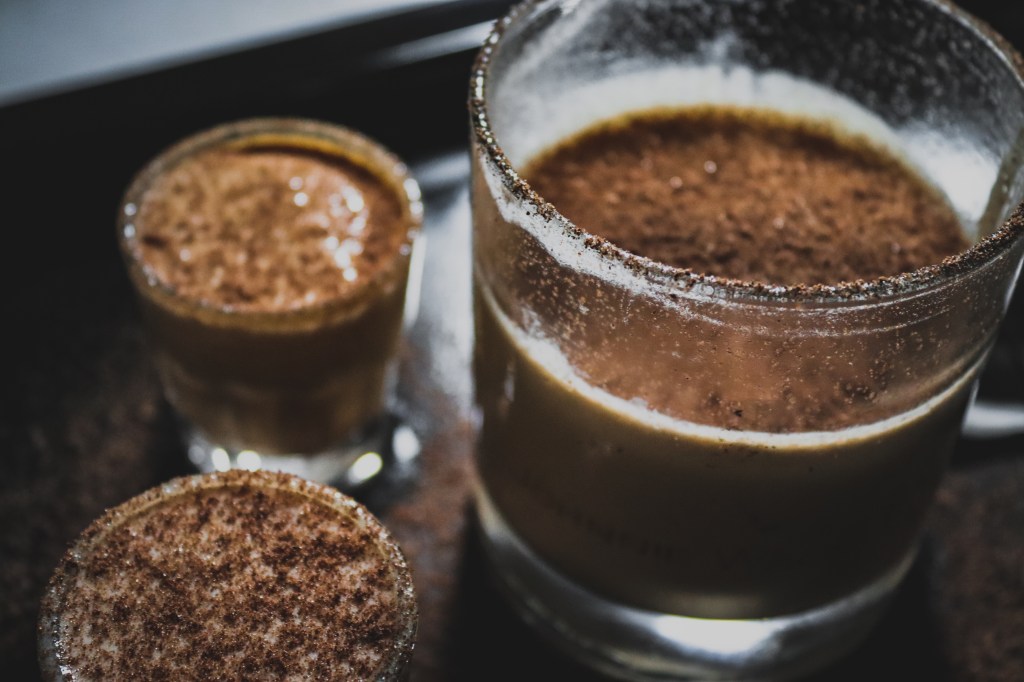

I swear, this is BETTER than ice cream. This thick, decadent, and creamy chocolate mousse makes the ideal dessert for date night, or if you like me I would just eat this alone. The procedure was a bit hard, you really need proper technique, but I assure you it will be worth it. I watched Matty a chef make this dessert and he gave easy instructions that anybody can follow.
Link to Munchies: https://youtu.be/QXcbVHFE2bo
Recipe
Chocolate mixture
• 100g Milk or Dark chocolate and butter
• 2 egg yolks
• 50g of white sugar
• 30g cream
Additional
- Cocoa powder
- Shaved chocolate
Procedures
• Put the butter in a medium bowl that can go in the microwave first. Small chunks of broken chocolate should go right into the bowl (no need to chop it first and dirty a cutting board). Stir between each 20-second burst of microwave heat until the chocolate is roughly 75% melted. Stirring will help the remaining heat in the basin thoroughly melt the chocolate. As a result, the chocolate doesn’t burn.
• After allowing the mixture to cool for a few minutes, add the egg yolks one at a time, whisking well after each addition.
• Beat the cream in a separate medium basin until peaks form (the peaks should be just starting to hold, and will melt back into themselves after a second).
• Fold the egg white mixture into the chocolate mixture using a sizable rubber spatula.
• Whip the cream in.
• Don’t mix the cream and chocolate mixture more than is required; gently fold it in.
• whipping cream into the chocolate mixture.
• the mixture into three equal portions (or if you are like me just 1)
• Add some cocoa powder or chocolate shavings, then indulge. (I swear it’s superior to ice cream.)
Chicken Katsudon

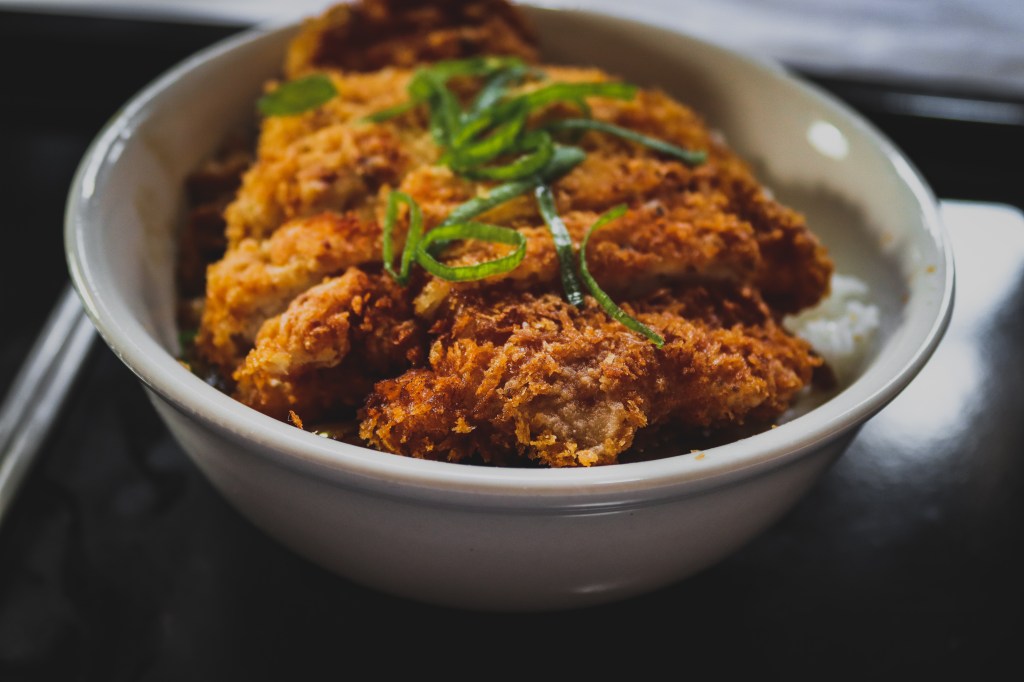
This Chicken Katsudon or in english term Chicken Cutlet Rice Bowl, a classic lunch dish adored by Japanese people of all ages, consists of crispy chicken katsu served with savory sauce and eggs over rice. I was surprised at how easy this dish is. The crispy chicken was complementing the creaminess of the egg (It feels like a mother is reuniting with its child). The sauce and onions give a nice balance of sweetness with the chicken, and partnered with a bowl of steaming hot rice is just a whole other level.
Recipe
Chicken Katsu Breeding
• 1/4 cup of flour
• 1/4 cup of cornstarch
• Panko Breadcrumbs
• 1 scrambled egg
Alternative Katsudon seasoning (Teriyaki sauce)
• 1 Tbsp vinegar
• 1 Tbsp soy sauce
• 1 Tbsp Sugar
• 1 Tbsp Honey
• 1 Tbsp minced garlic
• 1 Tbsp minced ginger
• 1 Tsp chili flakes
Katsudon
• 1/4 thinly sliced onions
• 2 large scrambled eggs
Procedures
• Butterfly the chicken and pound it gently (you can use the back of the knife, a meat hammer, or a heavy frying pan)
• Season the chicken with salt and pepper
• Prepare your breeding station
• Get 3 separate bowls or plates and put each plate with flour, another plate with beaten eggs, and another plate with Panko breadcrumbs.
• Dredge the chicken first with flour, and then the beaten egg, and lastly the breadcrumbs.
• Prepare Hot oil on a pan and begin frying.
• It will only take a few minutes on each side to cook the chicken.
• Cook the chicken until golden brown each side
• Prepare the teriyaki sauce or Katsudon sauce if you have one. For the Teriyaki sauce, grab ginger and garlic and finely chop it. Cook the ginger and garlic until fragrant and put some sugar or honey for sweetness and chili flakes for an extra kick. Pour in 3 Tbsp vinegar, 3 Tbsp soy sauce, and 3 Tbsp of water depending on how much sauce you want. Cook until it simmers and pout in cornstarch slurry for thickening the sauce.
• in another pan pour a small amount of the sauce and sliced onions and place your cut chicken in the pan, once the chicken is in the pan pour the beaten egg and cover for a few seconds.
• Once cook, serve the Katsudon Donburi with hot steaming rice and enjoy.
Easy dorm style ramyun fried rice
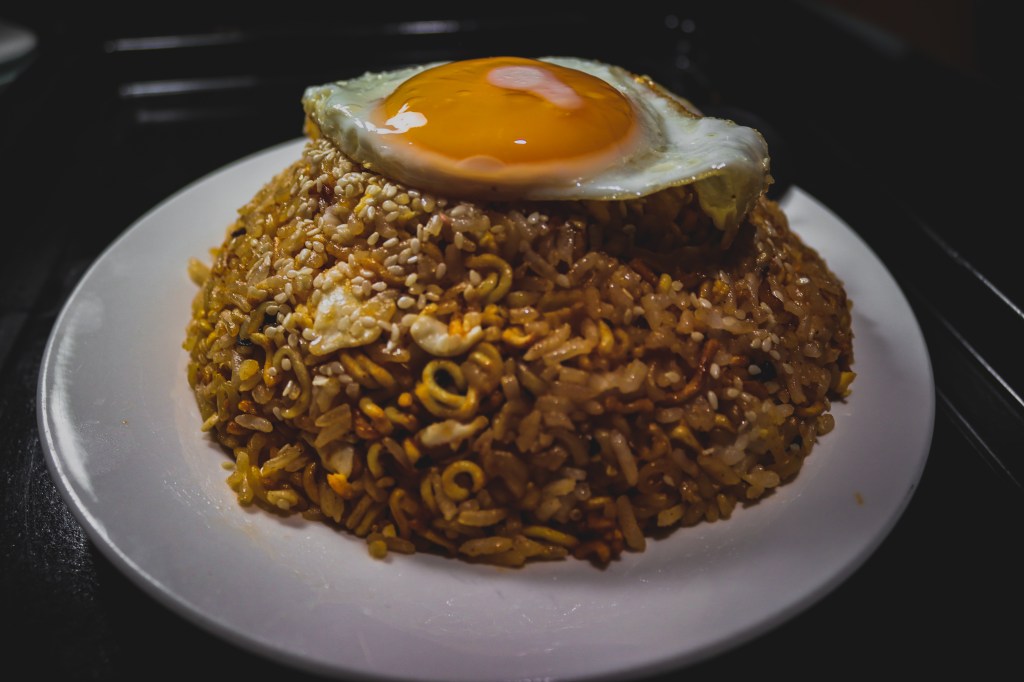
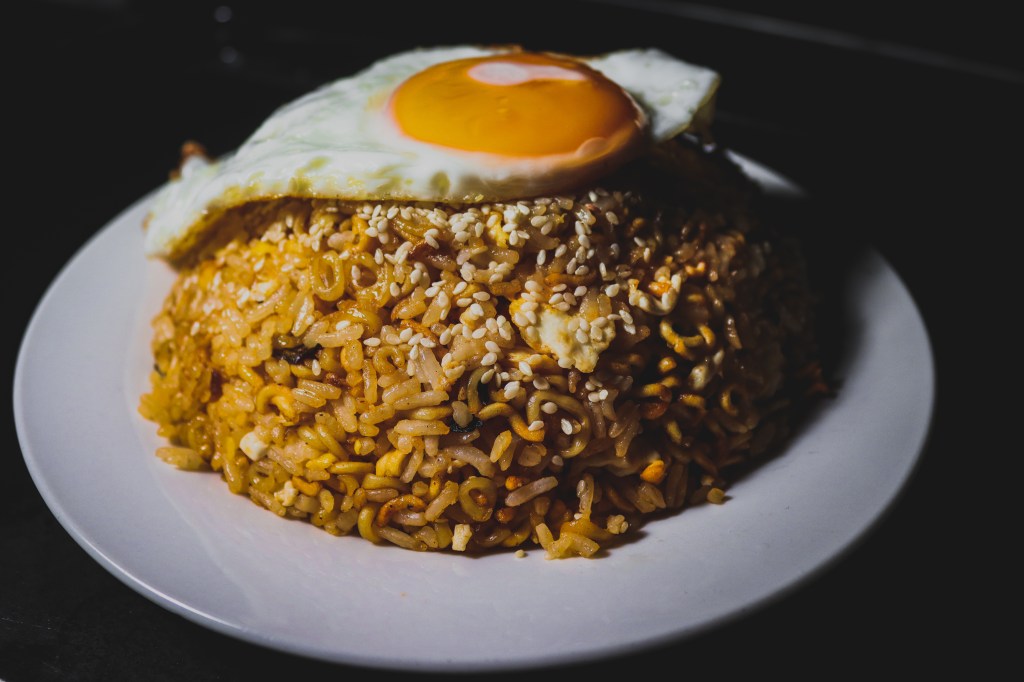
Have you ever tried ramen fried rice before, well for me NEVER, Never even heard about it before. Until I watched this creator called Doobydobap, I was hooked on making this dish. This dish is taking your regular fried rice and revamping it into something new. The dish smells so good with the garlic and sesame oil (Fuyiooh!). The rice was soft yet crunchy with the toasted noodles, it was also spicy which was unique for me and let us not forget about the egg. The runny yolk brought creaminess to the dish.
Link to Doobydobap https://youtube.com/shorts/ERIr2KNaQ-4?feature=share
Recipe
Ingredients
• Any package noodle you desire( I used Shin Ramyun, because that was on the video)
• Rice
• Green Onions
• Sesame oil and seeds
• Garlic
• Egg
Procedures
• Open your noodles and remove the seasoning packets
• Crushed the noodles in the bag (Not too much, just crush it just like how any asian parents crush their childrens dreams)
• Put the crushed noodles in a frying pan and lightly toast it. (Don’t put any oil in the pan)
• Once golden, remove the noodles and transfer it to a bowl.
• Put some oil on the pan and fry some garlic, a few green onions, and the seasoning packet.
• Once fragrant, Put the rice in the flavoured oil and fry.
• While cooking, Drizzle some sesame oil to the rice and coat the bowl with it as well. (For extra shine, just like you are)
• Once the fried rice is set, put your rice together in the same bowl as the noodles.
• Get a plate and put it top of the bowl and flip it.
• Fry some egg and make sure it crispy
• Topped it of with a few sesame seeds and your all set.
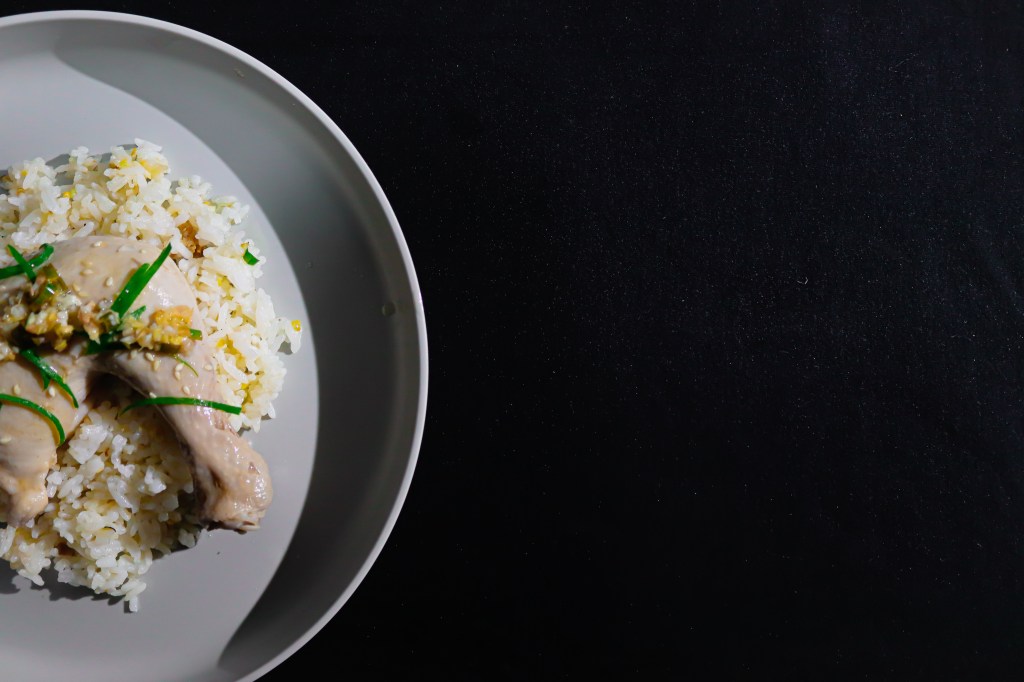
Hainanesse Chicken and Rice
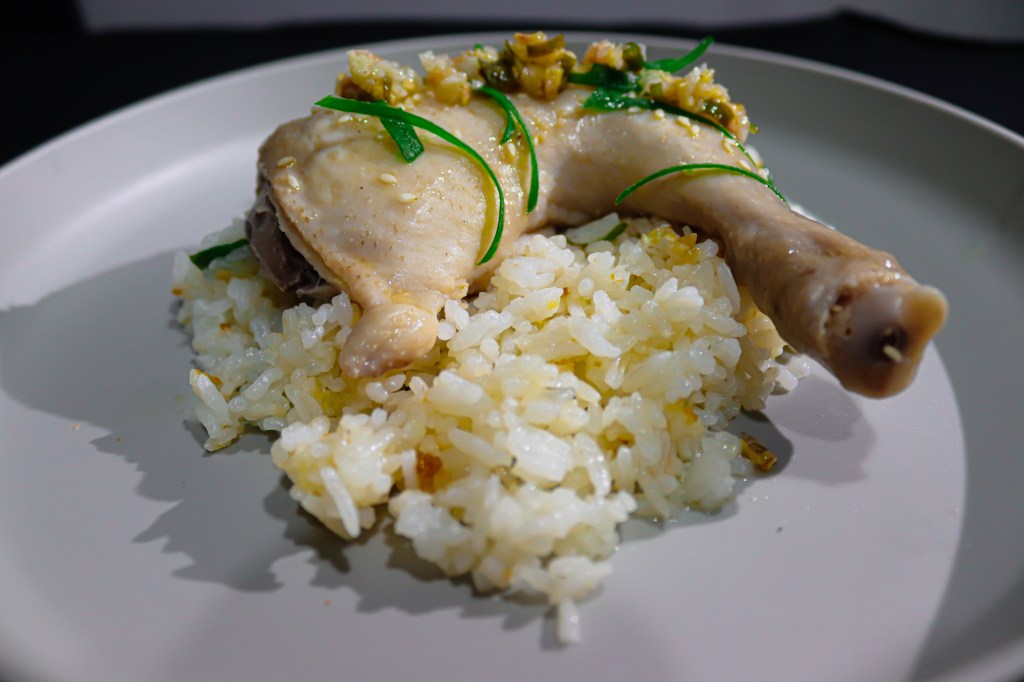
Ohh it just boiled chicken and rice.
You are completely wrong my dear friend.
The unofficial national cuisine of Singapore is hainanese chicken rice, which can be found in practically all hawker stalls and eateries there. This well-known Singaporean dish is ranked number thirteen among the top fifty dishes in the world. Slices of poached chicken, aromatic rice cooked with chicken stock, fresh, pungent chilli, and a variety of dipping sauces, including soy sauce, garlic sauce, ginger sauce, and minced chilli, make up this popular dish.
Recipe
Whole chicken(1.3 kg) (I used pre-cut chicken legs with thighs because I’m poor and lazy)
¼ cup kosher salt(60 g), divided
4 inch pieces of fresh ginger, peeled and cut into ¼-inch (6 mm) slices
1 bunch of fresh scallion
1 gal cold water(3.7 L), plus more as needed
2 tablespoons sesame oil
HAINANESE RICE
¼ cup sesame oil(60 mL)
2 tablespoons chicken fat, chopped
2 cloves garlic, minced
1 tablespoon fresh ginger, minced
1 teaspoon of kosher salt
2 cups long grain rice(400 g), rinsed and drained
2 cups reserved chicken poaching broth(480 mL)
GINGER GARLIC SAUCE
2 tablespoons fresh ginger, grated
2 tablespoons garlic, finely minced
kosher salt, to taste
3 tablespoons hot peanut oil
1 tablespoon rice vinegar
1 teaspoon of sugar
1 teaspoon of black or white pepper
1 – 2 tablespoons of lemon or Calamansi juice
Procedure
To clean the chicken, rub all over with a handful of kosher salt, getting rid of any loose skin. Rinse the chicken well inside and out. Pat dry with paper towels.
Remove any excess fat from the chicken and set aside for later.
Season the chicken generously with salt. Stuff the chicken cavity with the ginger slices and scallions.
Place the chicken in a large stock pot, cover with cold water by 1 inch (2 cm), and season with salt to taste.
Bring to a boil over high heat, then immediately reduce the heat to low to maintain a simmer. Cover and cook for about 30 minutes, or until the internal temperature of the chicken reaches 165°F (75°C). Remove the pot from the heat.
Remove the chicken from the pot, reserving the poaching liquid for later, and transfer to an ice bath for 5 minutes to stop the cooking process and to keep the chicken skin springy. Discard the ginger and green onion.
After it’s cooled, pat the chicken dry with paper towels and rub all over with sesame oil. This will help prevent the chicken from drying out.
In a large wok or skillet, heat ¼ cup (60 ml) of sesame oil over medium-high heat. Add 2 tablespoons of reserved chopped chicken fat, the garlic, ginger, and salt, and fry until aromatic, about 10 minutes.
Reserve ¼ of the fried garlic mixture, then add the rice to the remaining fried garlic and stir to coat. Cook for 3 minutes.
Transfer the rice to a rice cooker and add 2 cups (480 ml) of reserved poaching broth. Steam the rice for 60 minutes, or until tender.
While the rice is cooking, carve the chicken for serving.
Make the ginger garlic sauce: in a small bowl, combine the diced ginger, garlic, salt, scallions,white or black pepper, and sugar and pour hot oil in the small bowl and to that bowl add lemon or what I use Calamansi and rice wine vinegar.
Serve the sliced chicken with the rice, dipping sauces, sliced cucumbers, and fresh cilantro.
Enjoy!
Tiramisu (sort of?)
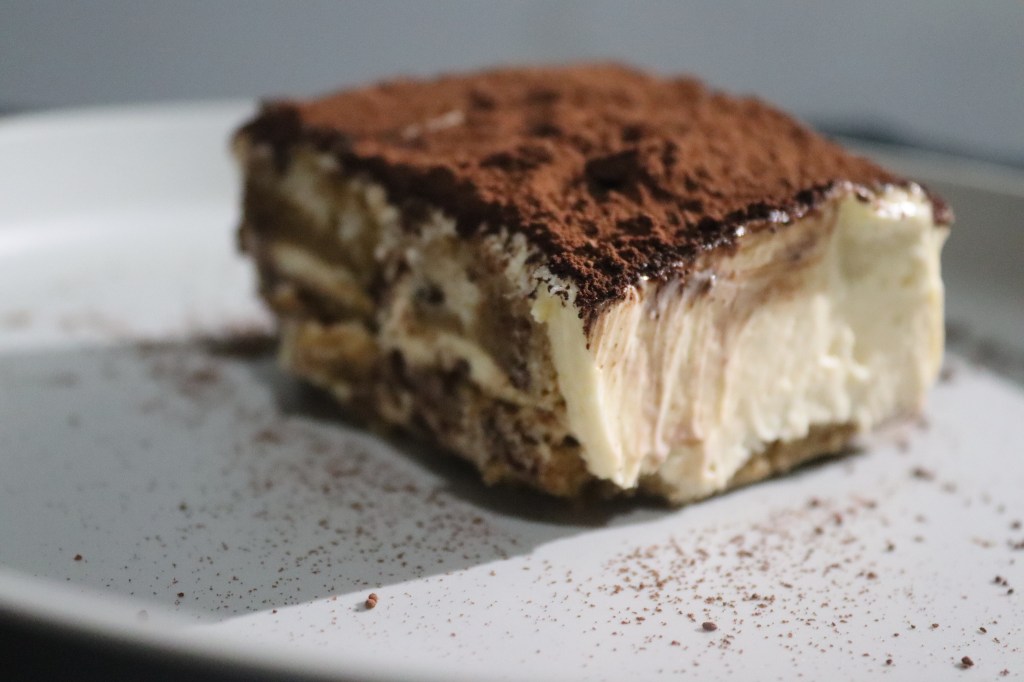
The little coffee bitterness and the delicate mascarpone dairy flavor provide an excellent balance between expensive components and commonplace items, according to Headley. I find that soaking the savoiardi and then stacking them in a [dish] is therapeutic when cooking tiramisu.
Ingredients
Ladyfingers or Broas
Good quality unsweetened coffee (or if you’re like me, just buy cheap instant coffee)
For the Cream
4 large egg yolks
½ cup/100 grams granulated sugar, divided
250 Nestle heavy cream
1 cup/225 grams of mascarpone (unfortunately I couldn’t find any marscapone so I just used cream cheese as an alternative)
Procedure
Put the 4 egg yolks on a metal bowl and add the sugar
Boil some water pot and put the egg and sugar mixture on top of the pot and whisk the mixture for 5 – 6 min non-stop until the mixture looks almost creamy and once done let the mixture cool.
*Note:Make sure the boil doesn’t touch the boiling water, let it just cook so you don’t get any salmonella.
Soften your room temperature cream Cheese by mixing it until super soft. And whisk you heavy cream until soft peaks.
Combine the egg mixture, cream cheese, and whipped cream all together in one bowl and mix.
*Note: Optional if you want you could add 7grams of gelatin in your mixture to help keep it stable.
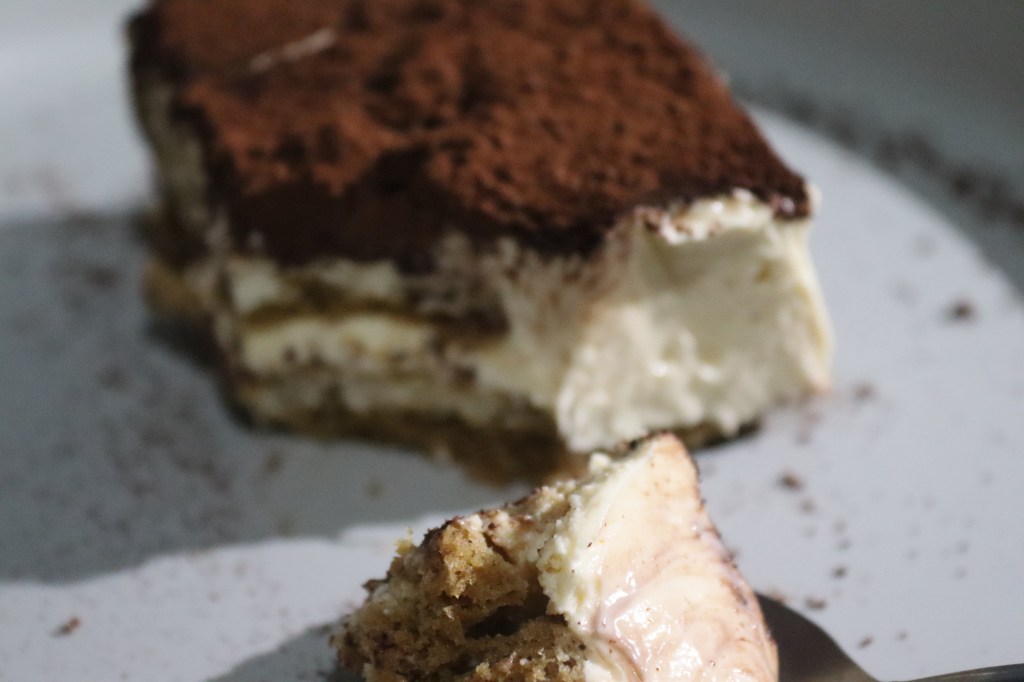
Assembling time(It’s basically like assembling a mango Graham)
1st layer
Dip your broas or ladyfingers in espresso for ONLY 2 seconds and put in the container.
2nd layer
Pour in the cream mixture
So on and so forth until the container is full
The last layer is topped with tiramisu with unsweetened cocoa powder or shaved dark chocolate.
Enjoy!
Pancit Palabok AKA The best noodle dish of the Philippines! Period.
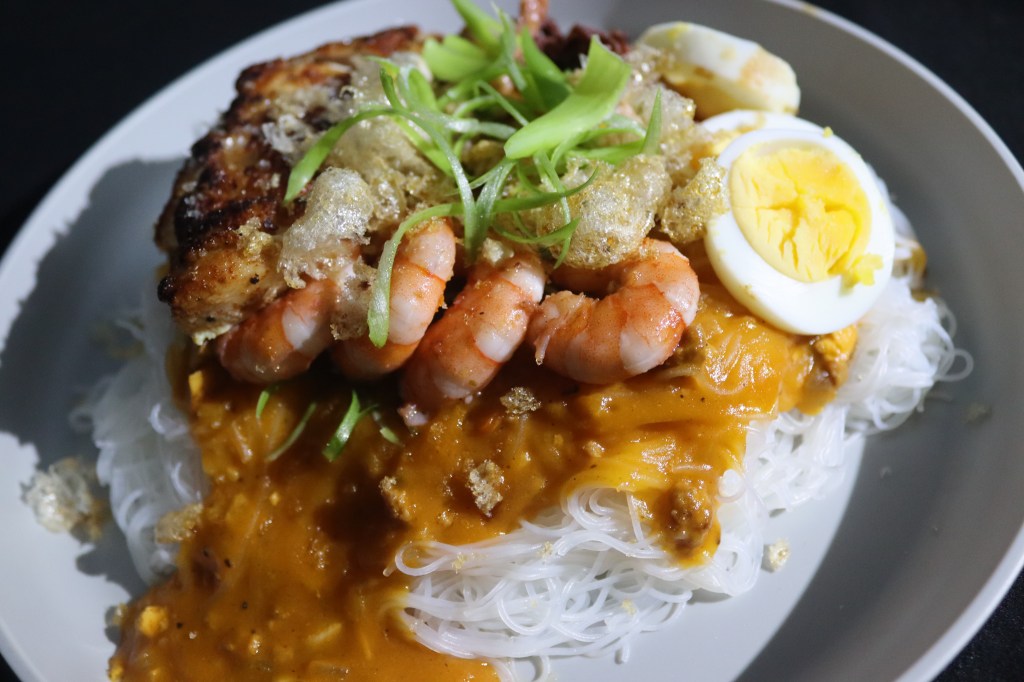
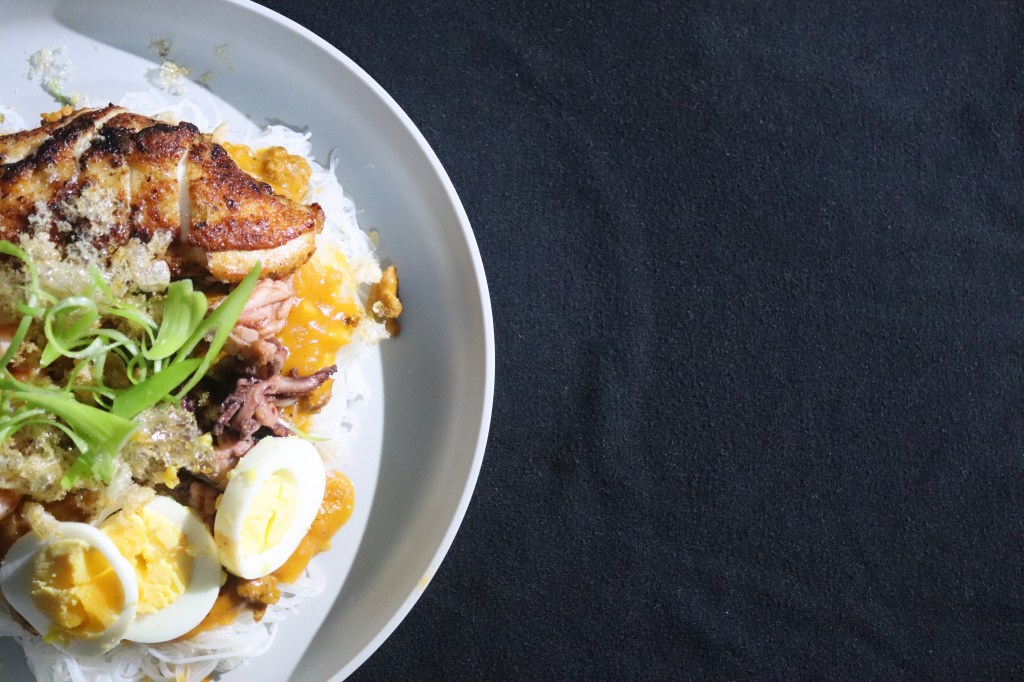
There are many other kinds of noodles to select from, but Pancit Palabok is the one for you if you want to return to your roots and you’re yearning for some noodle-y deliciousness that is very distinctively Filipino in both tastes. This dish is very popular for its bountiful toppings from shrimp,pork,chicken,squid, tofu and many more. Very perfect for any type of occasion.
Ingredients (For my version)
*NO MEASUREMENTS JUST HAVE FUN!
Sotanghon noodles(Not the fat one)
Shrimp
Chicken breast or thighs (Thic thighs save lives)
Squid
Garlic
Onions
Ground beef or pork
Palabok seasoning (I’m cheap and lazy)
Chicharon
Scallions
Boiled egg
Procedure
*Note: Cook all of your toppings first before cooking the sauce or the noodles
Cook your chicken breast first in a pan with some spices and seasonings
Also cook your ground beef or pork with garlic and onions.
In the same pan Sauté your shrimp and squids in a pan with some oil or olive oil for fancy.
D glaze the pan with some water and save that mixture for the palabok powder.
Boil your noodles according to the packet you use.
Mix the flavoured water, the palabok mixture, and cooked ground beef and garlic and onions until creamy like consistency and make sure you season it for taste.
Adjust the seasoning to your liking.
And assemble all the toppings however you like it.
Garnish it with some scallions, fried garlic,boiled egg and chicharon.
Enjoy!

Leave a comment